Incomplete fusion and cold joints are the most structurally dangerous defects in socket fusion welding because they are not reliably detectable by visual inspection alone — a joint can look externally correct while having a bond interface that will fail at a fraction of the rated pressure. The root causes fall into four categories: insufficient heating tool temperature, inadequate heating time, excessive transition time between tool removal and joint assembly, and surface contamination. Effective troubleshooting requires systematically isolating which variable has failed, not simply repeating the weld and hoping for a better result. This guide provides a structured diagnostic process and corrective actions for each failure mode.
Before troubleshooting, correct identification of the defect type is essential. Incomplete fusion and cold joints share similar causes but present differently depending on severity and location within the joint.
Visual inspection alone cannot confirm joint integrity. The definitive test is the longitudinal peel test: cut the joint along its axis and attempt to separate the pipe from the fitting by peeling. A sound joint tears cohesively through the parent material — you will see white stress-whitening and fibrous tearing in the pipe wall or fitting body. A cold joint or incomplete fusion joint separates cleanly at the bond interface, leaving smooth, undamaged surfaces on both the pipe spigot and the fitting socket — the surfaces look almost as though they were never joined at all. This clean interfacial failure is the definitive signature of a cold joint and requires immediate process investigation before any further production welding.
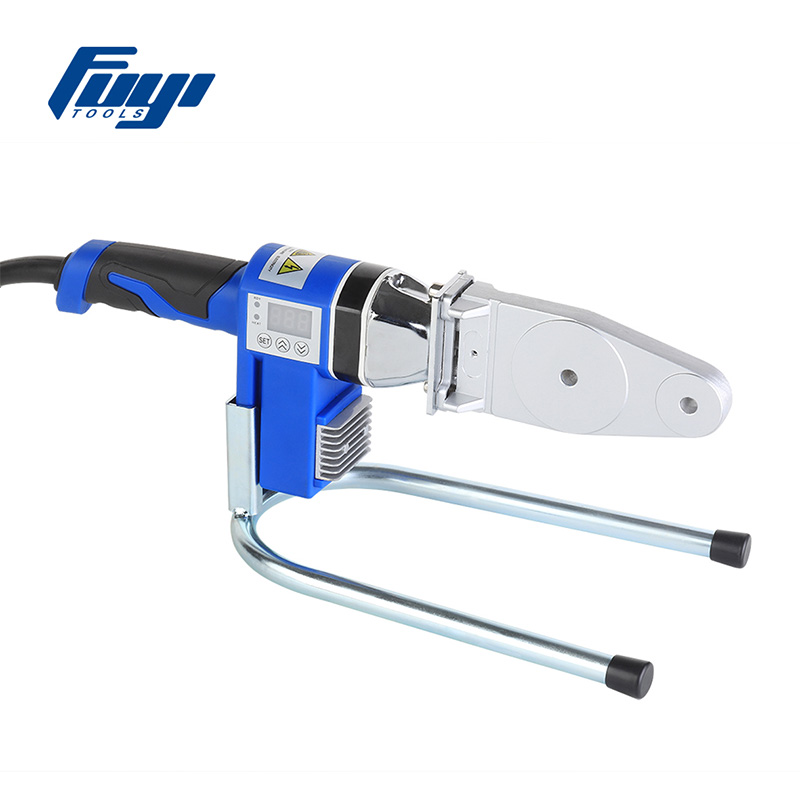
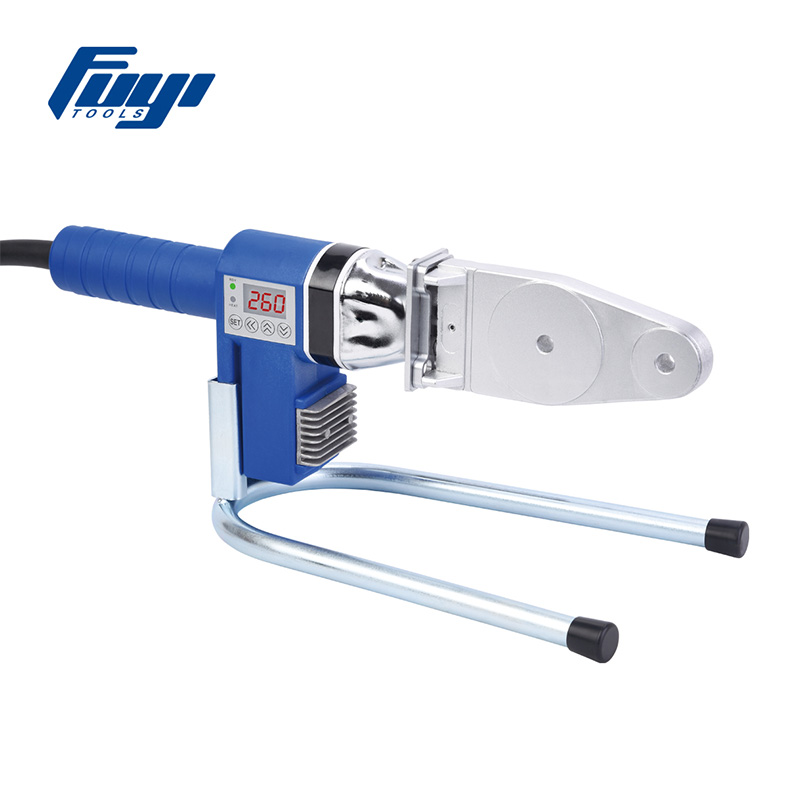
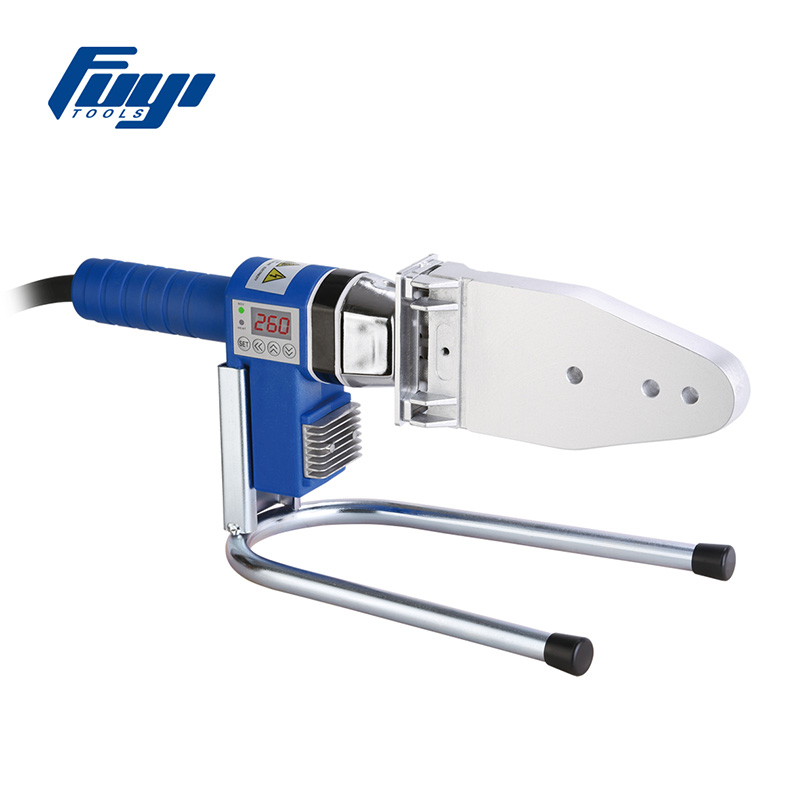
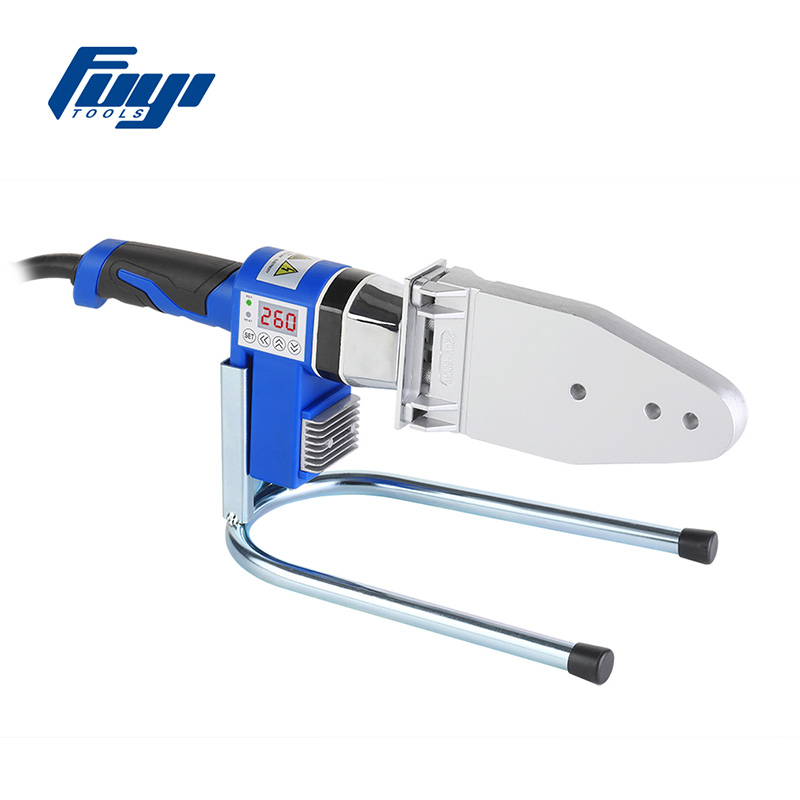
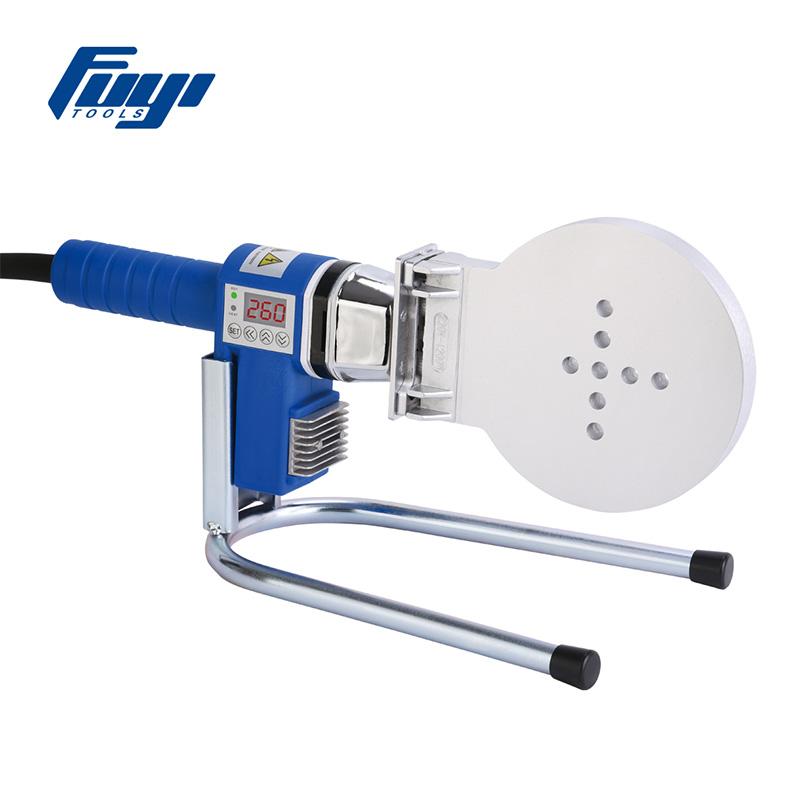
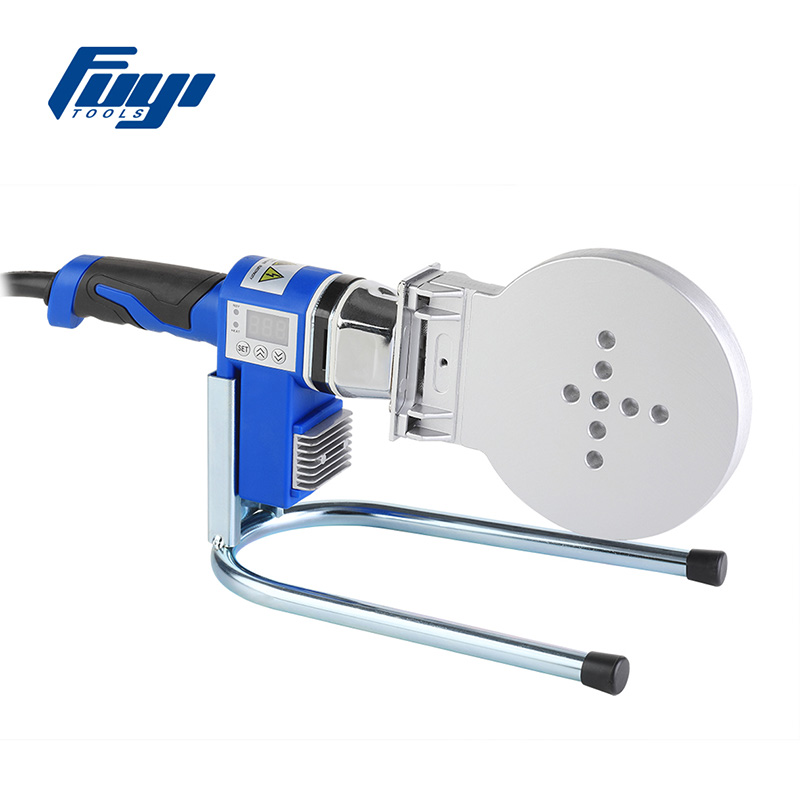
Low tool temperature is the most common single cause of cold joints. The tool surface may display the correct setpoint on the controller while actually operating below specification due to sensor drift, heater element degradation, or poor thermal contact between the heater body and the tool insert.
Heating time determines the depth of the melt zone in both the pipe spigot and the fitting socket. If heating time is too short, only the surface skin melts — there is insufficient melt volume to fill the annular gap and form a homogeneous bond through the full joint depth. For PP-R at 20mm diameter, the required heating time is 5 seconds; cutting this to 3 seconds reduces melt depth by approximately 40%, which is sufficient to cause cold joint failure under pressure.
Transition time is the interval between removing the pipe and fitting from the heating tool and completing the joint assembly push. This is the most time-critical step in socket fusion welding and the one most susceptible to human error. The molten surface begins cooling immediately upon tool removal — for a 20mm PP-R joint, the maximum allowable transition time is 4 seconds, and the surface temperature drops by approximately 3°C–5°C per second in ambient air. A 2-second delay beyond the maximum transition time can reduce surface temperature below the fusion threshold before assembly is complete.
Contamination on either the pipe spigot surface, the fitting socket surface, or the heating tool faces prevents intimate molecular contact between the melt layers during joint assembly. Even a thin film of oil, moisture, pipe shavings, or release agent is sufficient to create a bond-free interface that fails at low pressure. Contamination-related cold joints are particularly insidious because they may pass visual inspection and even low-pressure testing before failing in service under sustained pressure or thermal cycling.
Even with correct temperature, timing, and clean surfaces, poor pipe preparation can prevent full fusion by creating non-uniform contact between pipe and tool, or between pipe and fitting during assembly.
Pipe ends that are oval rather than circular make inconsistent contact with the circular heating tool face. The high points of the oval contact the tool with higher pressure and heat faster, while the low points have an air gap and receive insufficient heat. The result is localized fusion alternating with cold zones around the circumference — a defect that produces an irregular bead and fails under hydrostatic pressure testing at the unbonded arc segments. Re-round the pipe end using a pipe re-rounding clamp before cutting, and always cut with a purpose-made pipe cutter or saw guide that maintains perpendicularity and roundness.
A pipe end cut at an angle contacts the heating tool face unevenly — the leading edge penetrates deeper into the socket tool and overheats while the trailing edge barely contacts the tool surface. Per ASTM D2657 and DVS 2207-1, pipe cuts must be square to within 0.5° of perpendicular. Use a mitre box, mechanical pipe saw, or dedicated pipe cutting tool — never a hand saw without a guide.
If the depth mark is placed too shallow, the pipe does not fully seat in the fitting socket after assembly, leaving the distal end of the socket with no melt contact and therefore no fusion. If the mark is too deep, excess melt is forced into the bore, restricting flow. Depth marks must be measured and marked from the pipe manufacturer's specification for each fitting series — do not estimate visually or transfer marks from a different fitting size.
When a cold joint or incomplete fusion defect is identified, follow this diagnostic sequence in order before resuming production welding:
| Step | Check | Pass Criterion | Action if Failed |
|---|---|---|---|
| 1 | Measure tool surface temperature at 6 points | All readings within ±5°C of setpoint | Adjust controller offset, replace thermocouple or heater element |
| 2 | Verify machine timer against calibrated stopwatch | Deviation ≤ 0.5 seconds per cycle | Recalibrate or replace timer module |
| 3 | Confirm heating time matches WPS for material, diameter, and ambient temperature | Parameters match current standard table values | Update parameters; apply cold correction factor if ambient <10°C |
| 4 | Time operator transition sequence | Within maximum transition time per standard | Operator retraining; service clamp mechanism; shield from drafts |
| 5 | Inspect tool face PTFE coating and pipe surfaces | No residue, discoloration, or visible contamination | Clean tool; replace insert if damaged; implement handling controls |
| 6 | Check pipe end squareness and roundness | Square to within 0.5°; no visible ovality | Re-cut pipe end using guided cutter; re-round if necessary |
| 7 | Perform qualification test weld and peel test | Cohesive failure in parent material — no interfacial separation | Do not resume production until test weld passes; escalate to QA |
A confirmed cold joint or incomplete fusion defect cannot be repaired in place. There is no post-weld repair method for socket fusion joints — the entire joint must be cut out and replaced. The remediation procedure is:
When a single cold joint is identified, standard practice under DVS 2202-1 and most project quality plans requires reviewing all joints made in the same session under the same process conditions — not just the failed joint. If the root cause was a machine calibration error or incorrect parameters, every joint made since the last verified calibration check is potentially defective and must be assessed.
Copyright © 2024 Hangzhou Fuyi Tools Co., Ltd. All Rights Reserved.
|